How to Make an Arapaho Hand Drum

Area 3: Native People in a Changing West


Lesson Plan Developed By Michael Redman, St. Stephens Indian School, St. Stephens, Wyo.

Grade Level
9-12

Content Area(s)
Social Studies
English
Math

Learning Objective(s)
Students will learn how to make a Native American drum from beginning to end. Students will learn the Art of lacing and looping the rawhide straps on the back side of the drum so the drum head dries tight and smooth. Lacing one loop at a time, they will continue this process until they have laced up all holes on the drum. Students need to be careful not to lace too tightly as this may cause over tightening of the drum, which could cause the head to split or the ring to twist and warp.

Standards

Click here to see a spreadsheet aligning Wyoming State Social Studies and Common Core Standards for this and other digital toolkits of Wyoming History.

Length
Two 45-minute class periods, plus overnight rawhide-soaking time before the class begins and overnight drying time between the two classes.

Materials Required

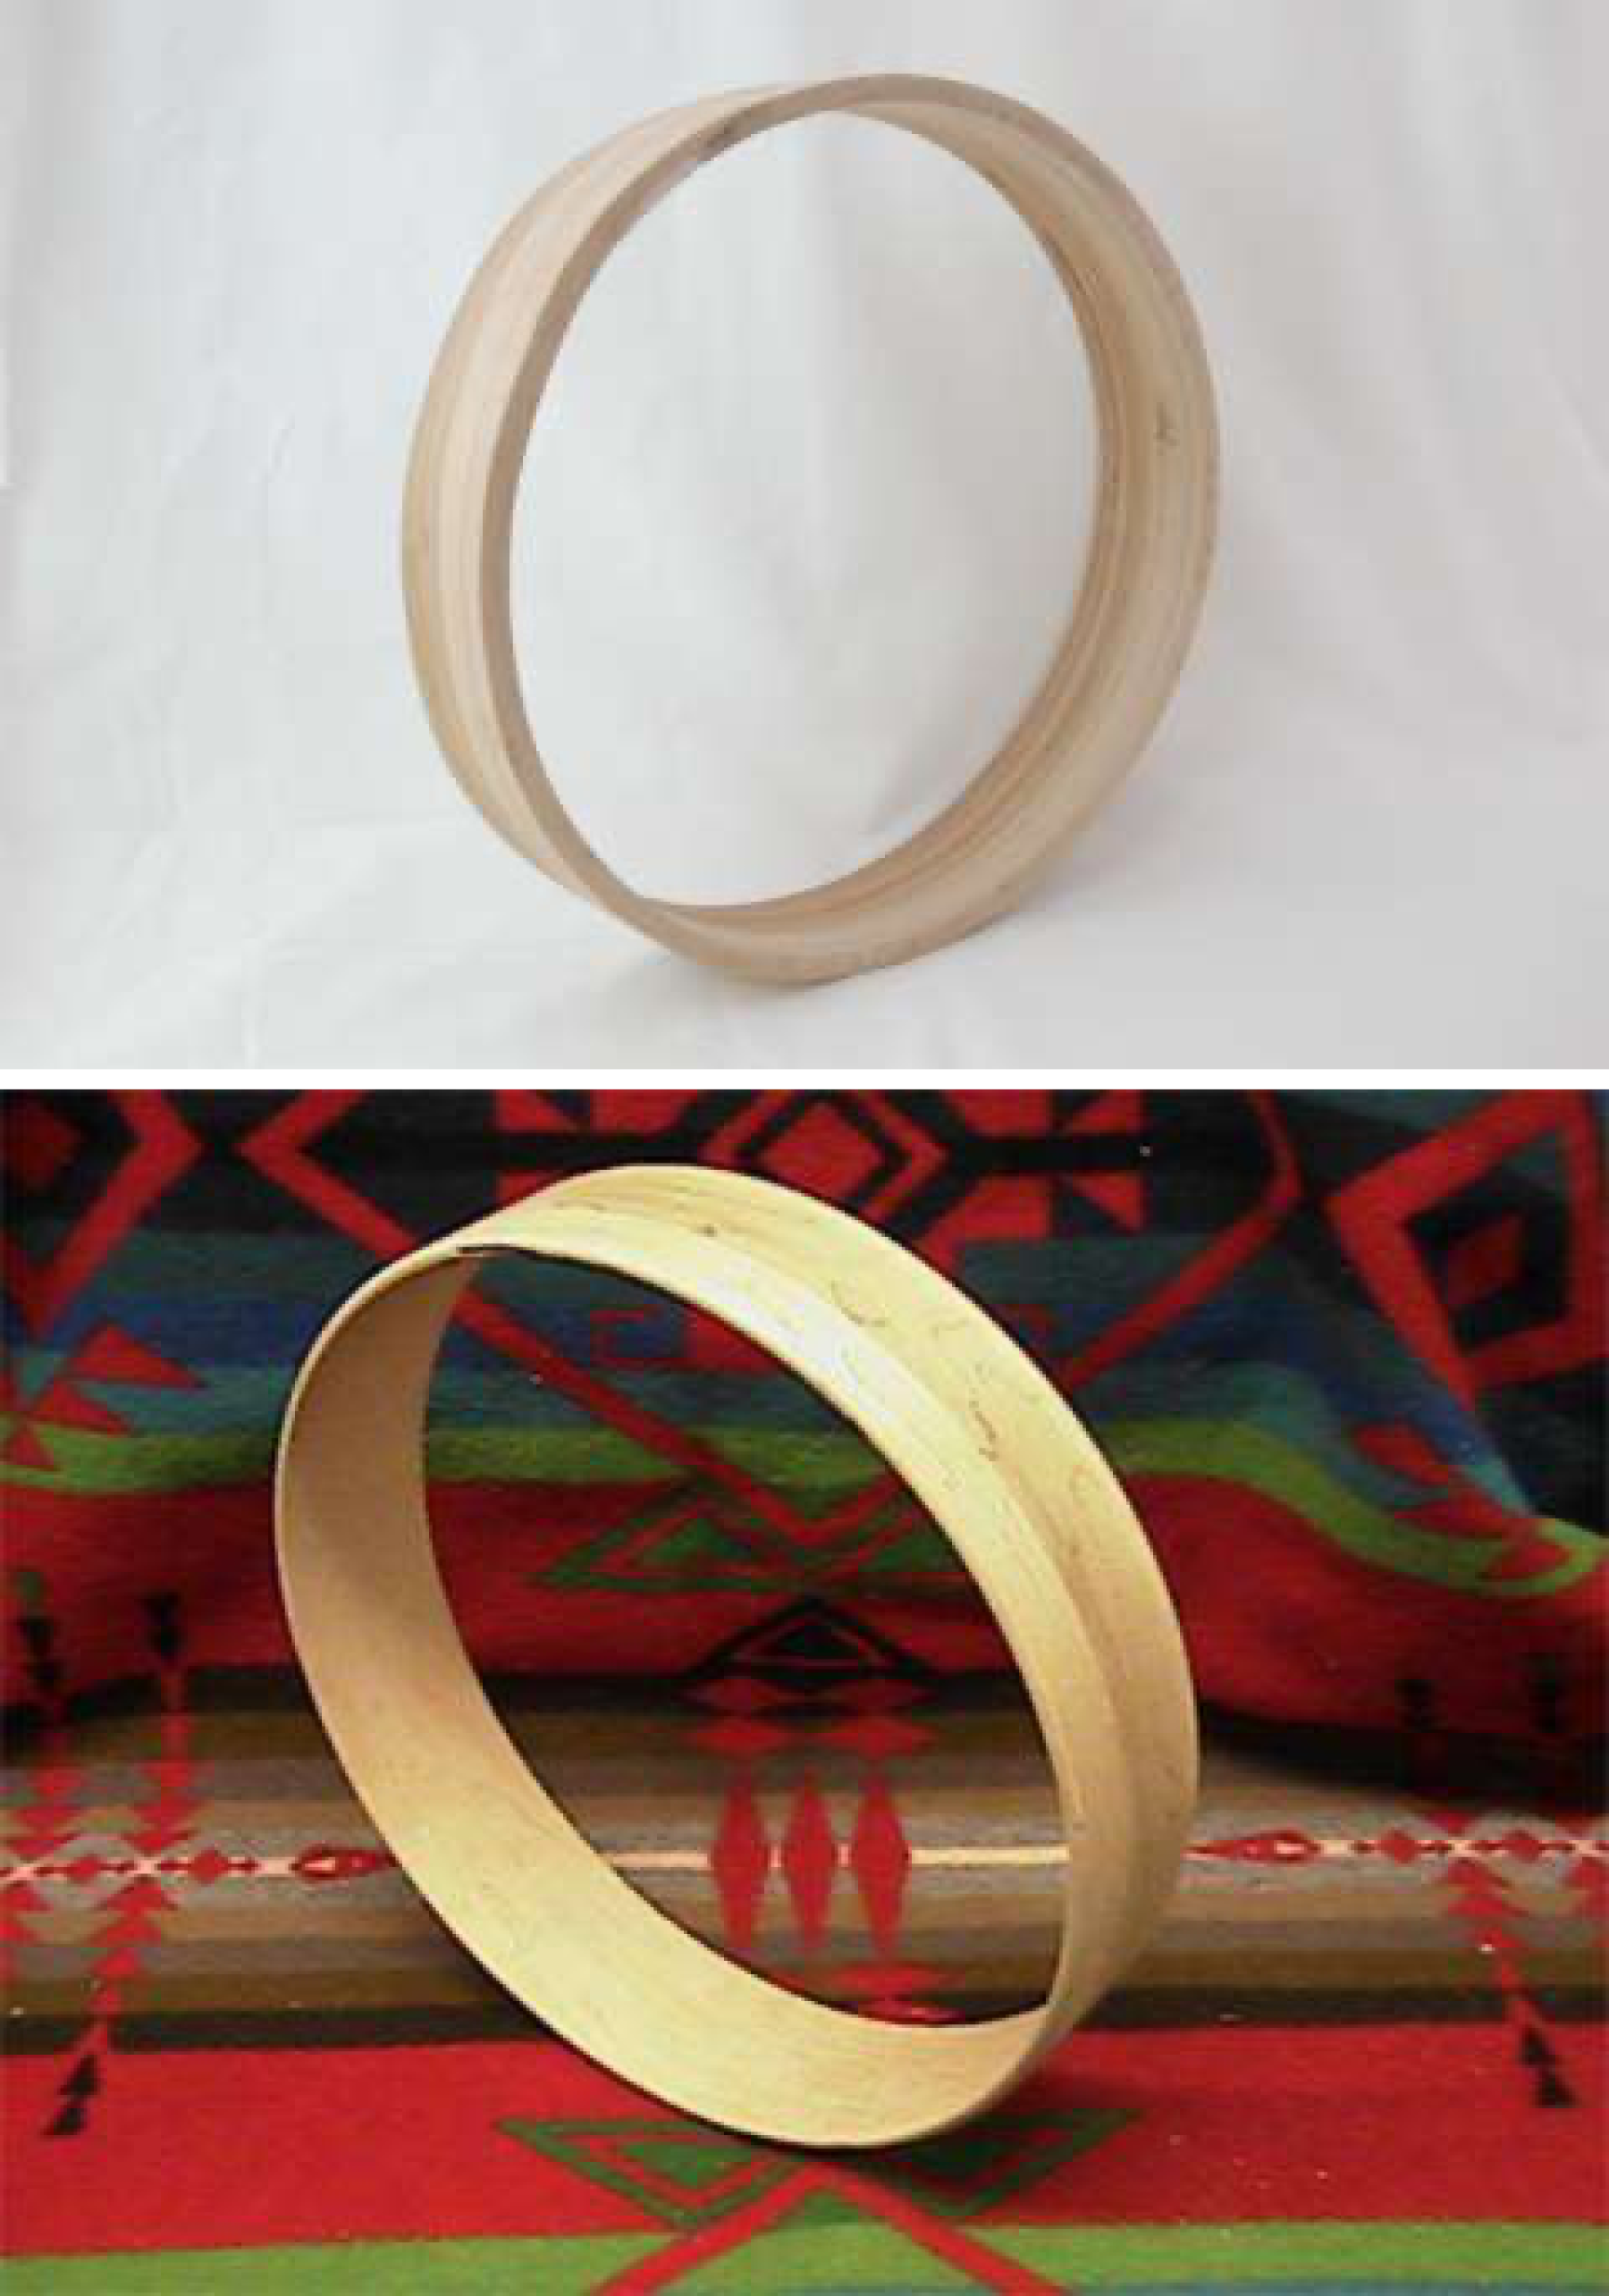
  • One 15" wooden drum ring. These can be purchased on line, or teachers and students may want to collaborate with wood-shop students to make them.
  • One deer or elk rawhide. Rawhide is not leather as it has not been tanned. The hair has been removed from the hide, and it has dried stiff. When soaked in water it becomes soft and pliable and can be stretched over a drum ring to make a drum. When it dries again, it dries hard and tight. Rawhide from one deer, for example, could make three to five hand drums, depending on size.
  • Four 8-to-10-foot long, ¼-inch wide rawhide straps. Students may have to cut the straps out themselves from excess parts from the deer/elk rawhide.
  • Tin snips.
  • Leather hole punch.
  • Flexible measuring tape.
  • 12" Ruler.
  • Package of pencils.
  • Ordinary scissors.
  • Thirteen-gallon trash container. This will be needed for students to fill with water to allow the pre-cut drum head and holes and rawhide straps to soak overnight. Note: this process must be done one day before the first class begins. Also keep container in a safe cool place.
  • Native American hand drum template sheet/diagram.
  • Introductory video: “Arapaho Drum,” https://youtu.be/mruSiS8r2-8; or see the video linked from the “Preserving the Ways—Culture and Tradition” module at Wyoming PBS’s Wind River Education website, http://windriveredu.org/wpw.html.
  • Instructional video: “How to Make a Hand Drum” at https://youtu.be/qKrP17frXEs.

Lesson Plan

Image
Drum rings are commercially available in various sizes. Furandhide.com, Native American Trading Post.

Introduction 
The hand drum has been a part of the indigenous plains peoples’ traditions since the beginning of our existence on this continent. The drum connects native people to the earth and to life's creation. For many years the drum has signified our mother’s heartbeat, heard while in the womb. The sound of the heartbeat synchronizes the balance of life around us. In this lesson students will learn how to make their own Native American Hand Drum.

This lesson allows students to connect how old technology works and also offers Arapaho words to use when constructing the drum. Hand drums are made for social songs, hand games and other Native American uses. The videos will help students become familiar by watching an experienced person go through the step-by-step process.

The Teacher should discuss the process on how a hand drum is made and possibly bring two already made hand drums to show as examples. Contact Fremont County School District #14 in Ethete, Wyo., Fremont County School District #38 in Arapahoe, Wyo., or St. Stephens Indian School and ask if one or two hand drums could be borrowed for this lesson.

While explaining the process to the students, pass the hand drum around the classroom. This allows students to feel and touch the drum and to get a closer look. Give a background information of how the hand drum originated and, if possible, bring in a tribal elder to share their knowledge about the hand drum.

Arapaho vocabulary

  • Drum - Ho'eii –
  • Drums - Ho'eiho' –
  • Lace/Tie - tonoukutiinoo –
  • Soak - nenii'ou3etiinoo –
  • Container - cee’einoo –
  • Leather hole punch - toonoti'ii –
  • Scissors - koo’oukuuhu –

Plan

  • Step 1: Watch the video titled “Arapaho Drum” at https://youtu.be/mruSiS8r2-8.
  • Step 2: Watch the video titled “How to Make a Hand Drum” at https://youtu.be/qKrP17frXEs.
  • Step 3: On the rawhide, mark out your 15-inch drum using a pencil. Draw a second circle, centered on the same point as the first, three inches out from the original drum ring. Mark out a pencil dot one inch in from the outer circle and space more marked dots three inches apart around the inside of the outer circle. After the holes are marked out, use the leather hole punch to punch a hole at each of the marked spots. Use the largest hole available on the leather punch.
  • Step 4: Cut four straps each ¼ inch wide and 8 to 10 feet long out of the rawhide. For the drum head, cut out the disc 18 inches in diameter. Soak all the rawhide overnight in water in the 13-gallon container.
  • Step 5: Place the drum-head rawhide disc on a table and place the wooden ring on top of the rawhide ring. Adjust the wooden ring in the center of the pre-cut rawhide drum head.
  • Step 6: Collect the rawhide straps and begin lacing the drum from one hole to the hole on the opposite side, and continue this process until all the holes are laced. Note: do not lace too tight or too loose. Make sure the ends are tied/knotted up neatly. Make sure there are no wrinkles on the drum head.
  • Step 7: Let rawhide drum dry overnight in a cool, dry place. Check on drying process periodically throughout the night if possible.

Closure 
Have students write instructions on how to make a hand drum. Written instructions could be 300 to 500 words. Each individual student will give a five-minute demonstration on their written work.

Evaluation 
Will the drum have the appropriate tune when dried?