Two Nations, One Reservation

Middle School Social Studies Lesson Plan


By Abby Markley, middle school English and Social Studies teacher, University of Wyoming Lab School and Margo Berendsen, cartographer, Geographic Information Science Center, UW

Editor’s note:  Special thanks to Wyoming Humanities for support that made development of this plan possible.

Grades: (6-8)
Time: (3, 60 minute class periods)

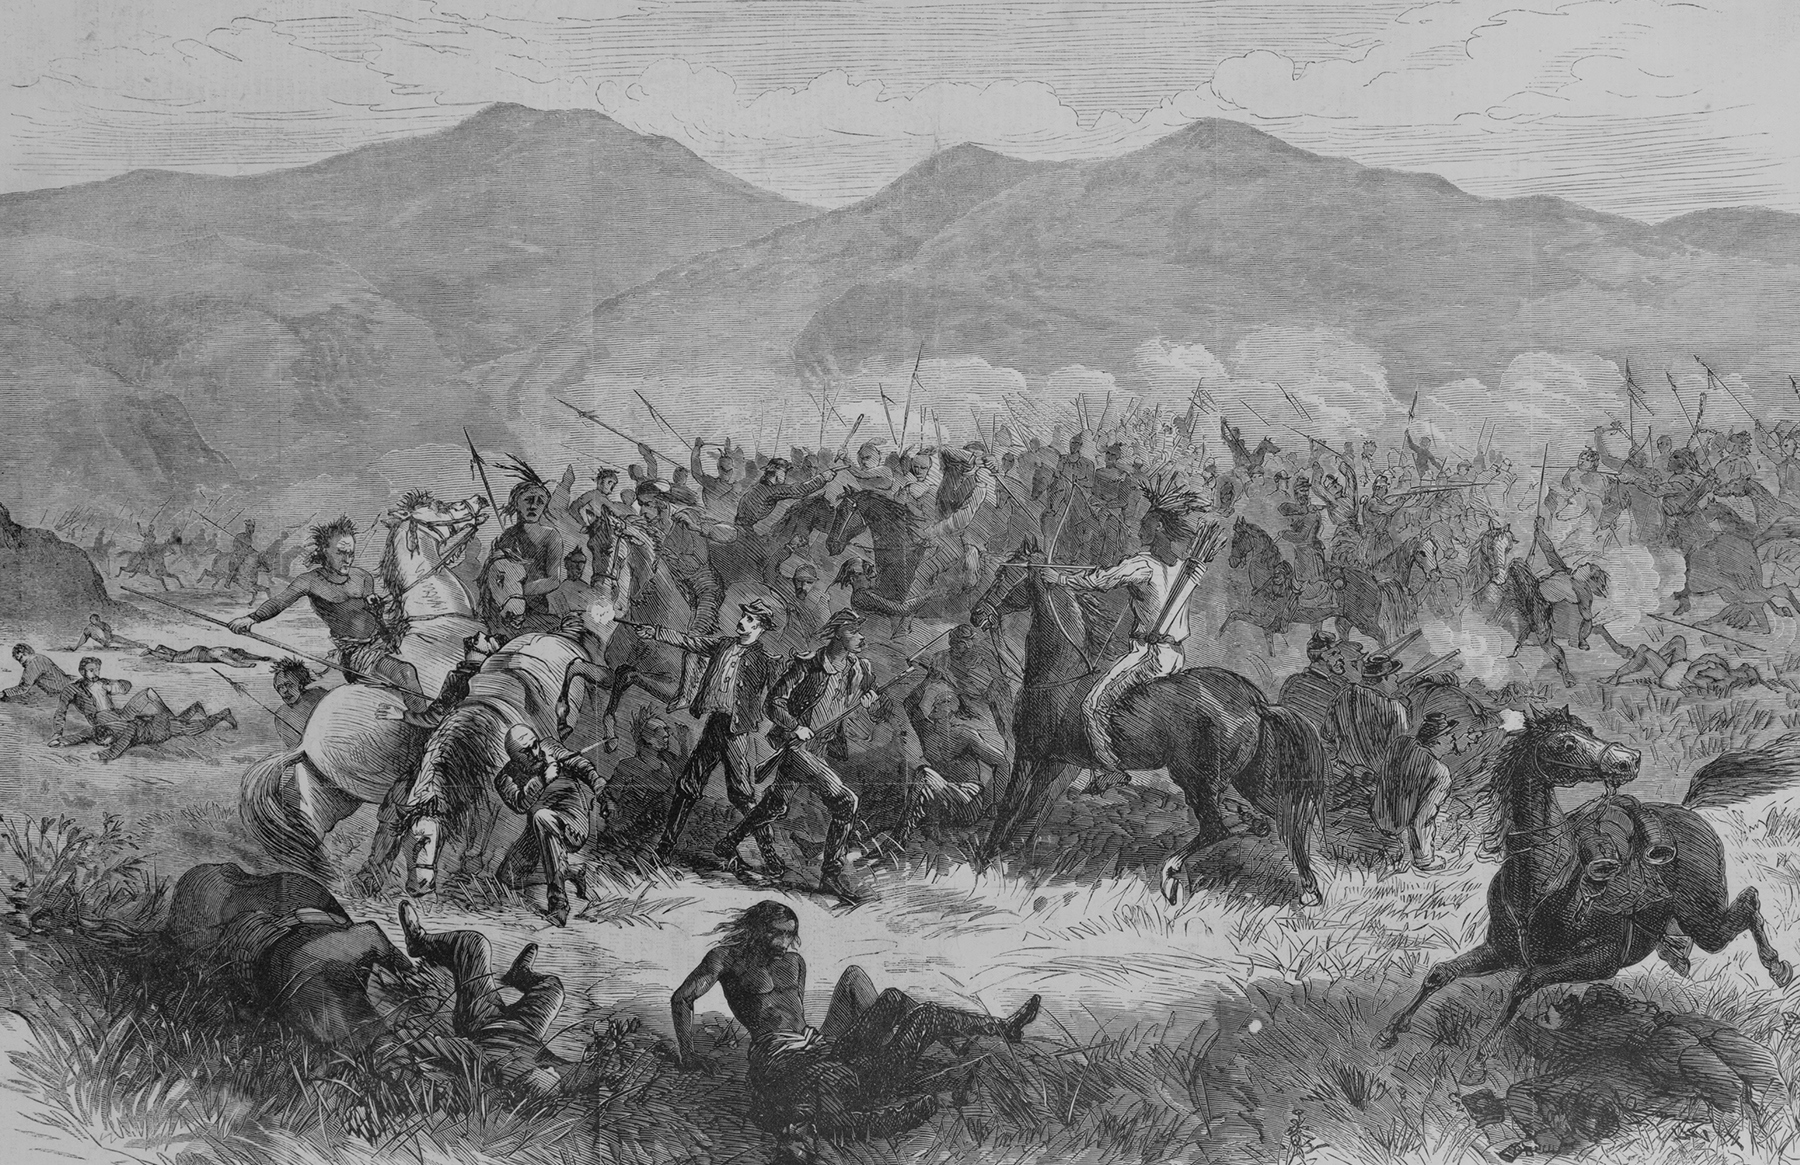
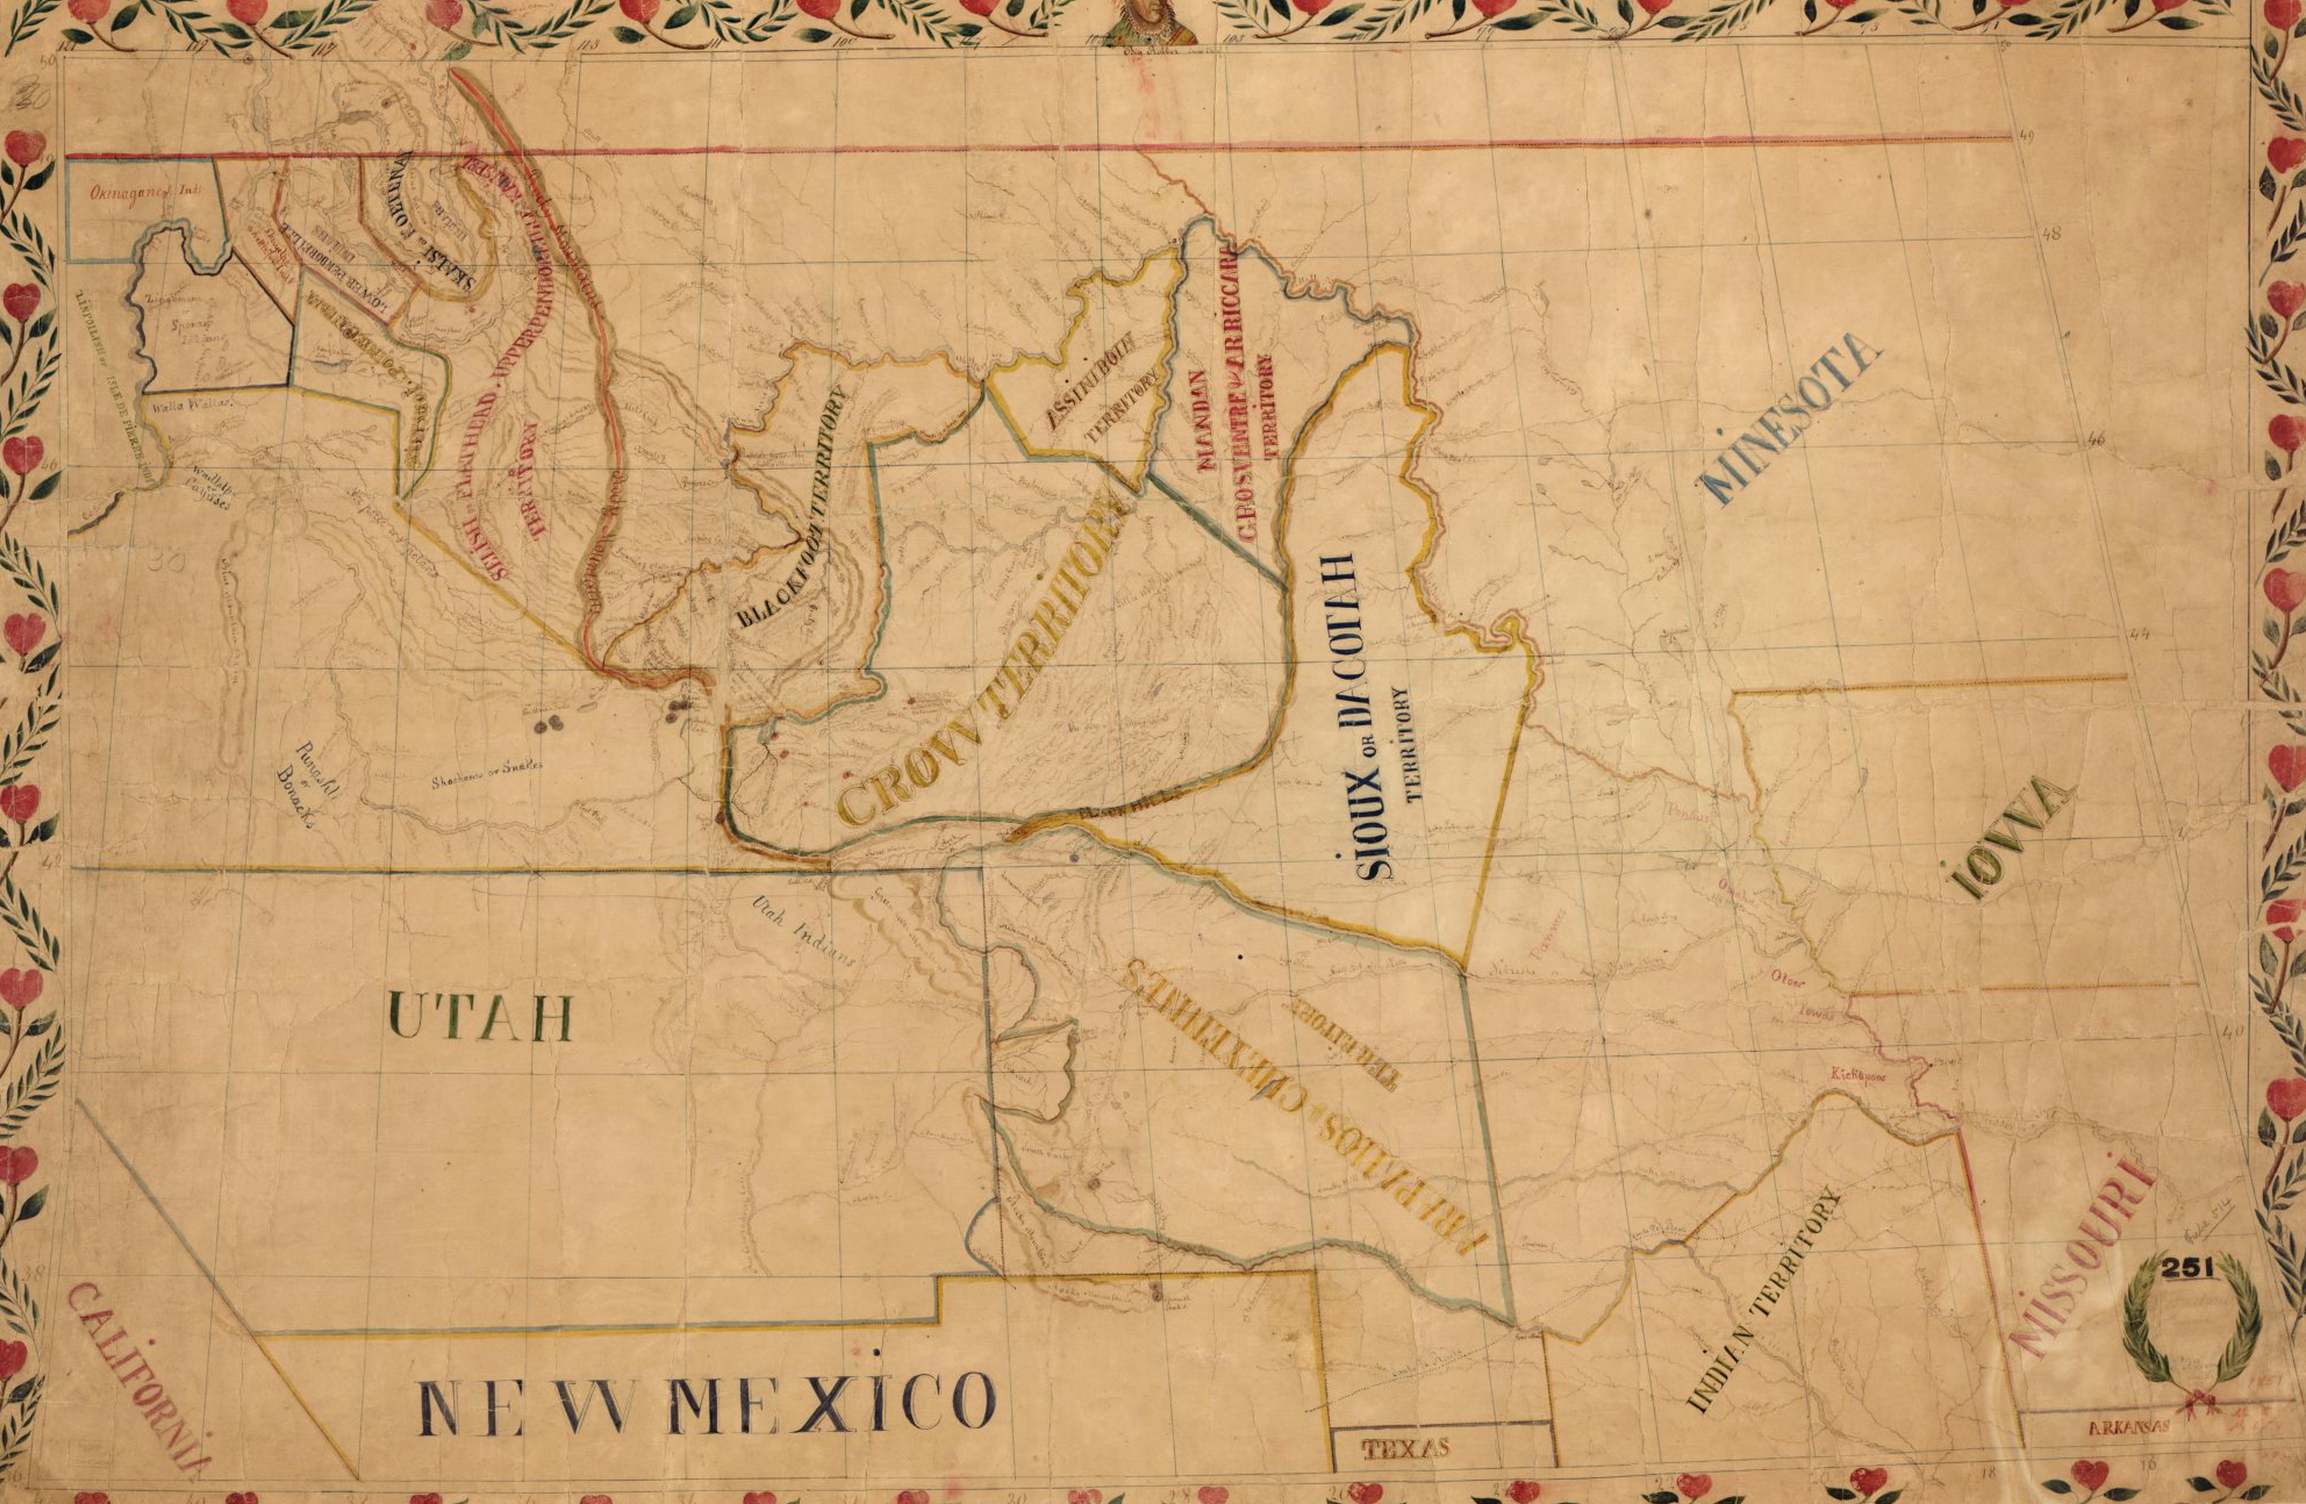
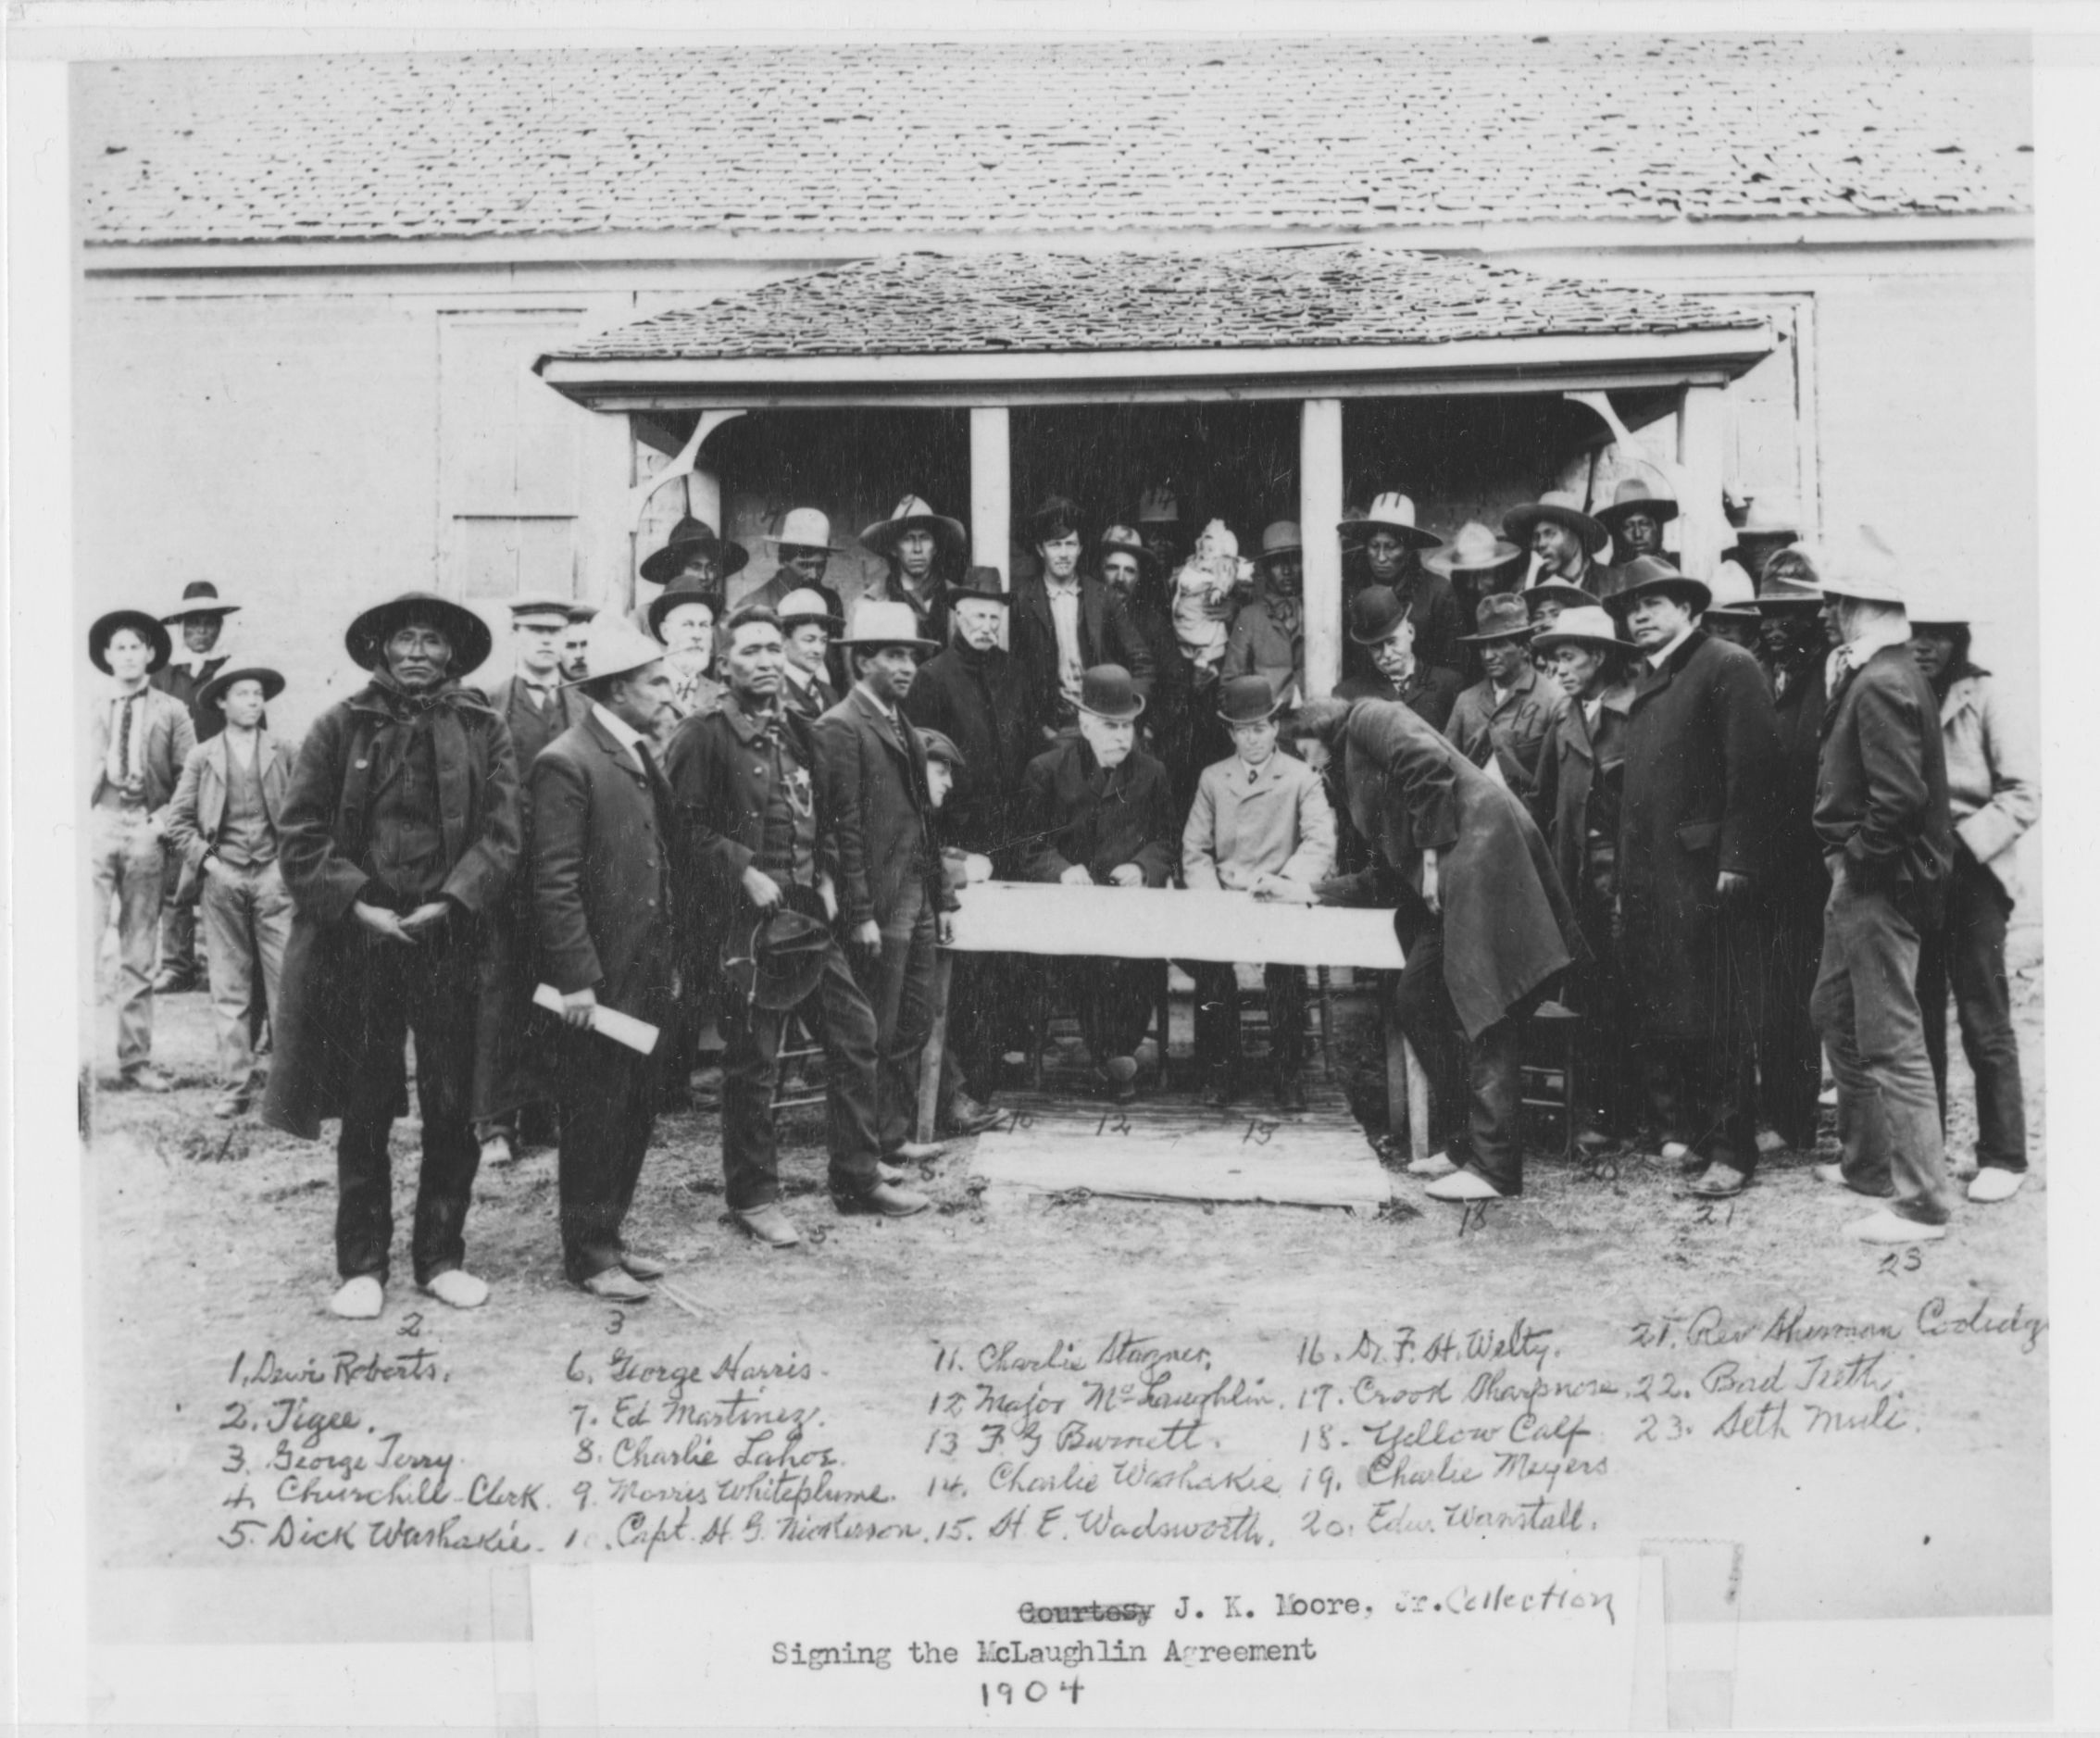
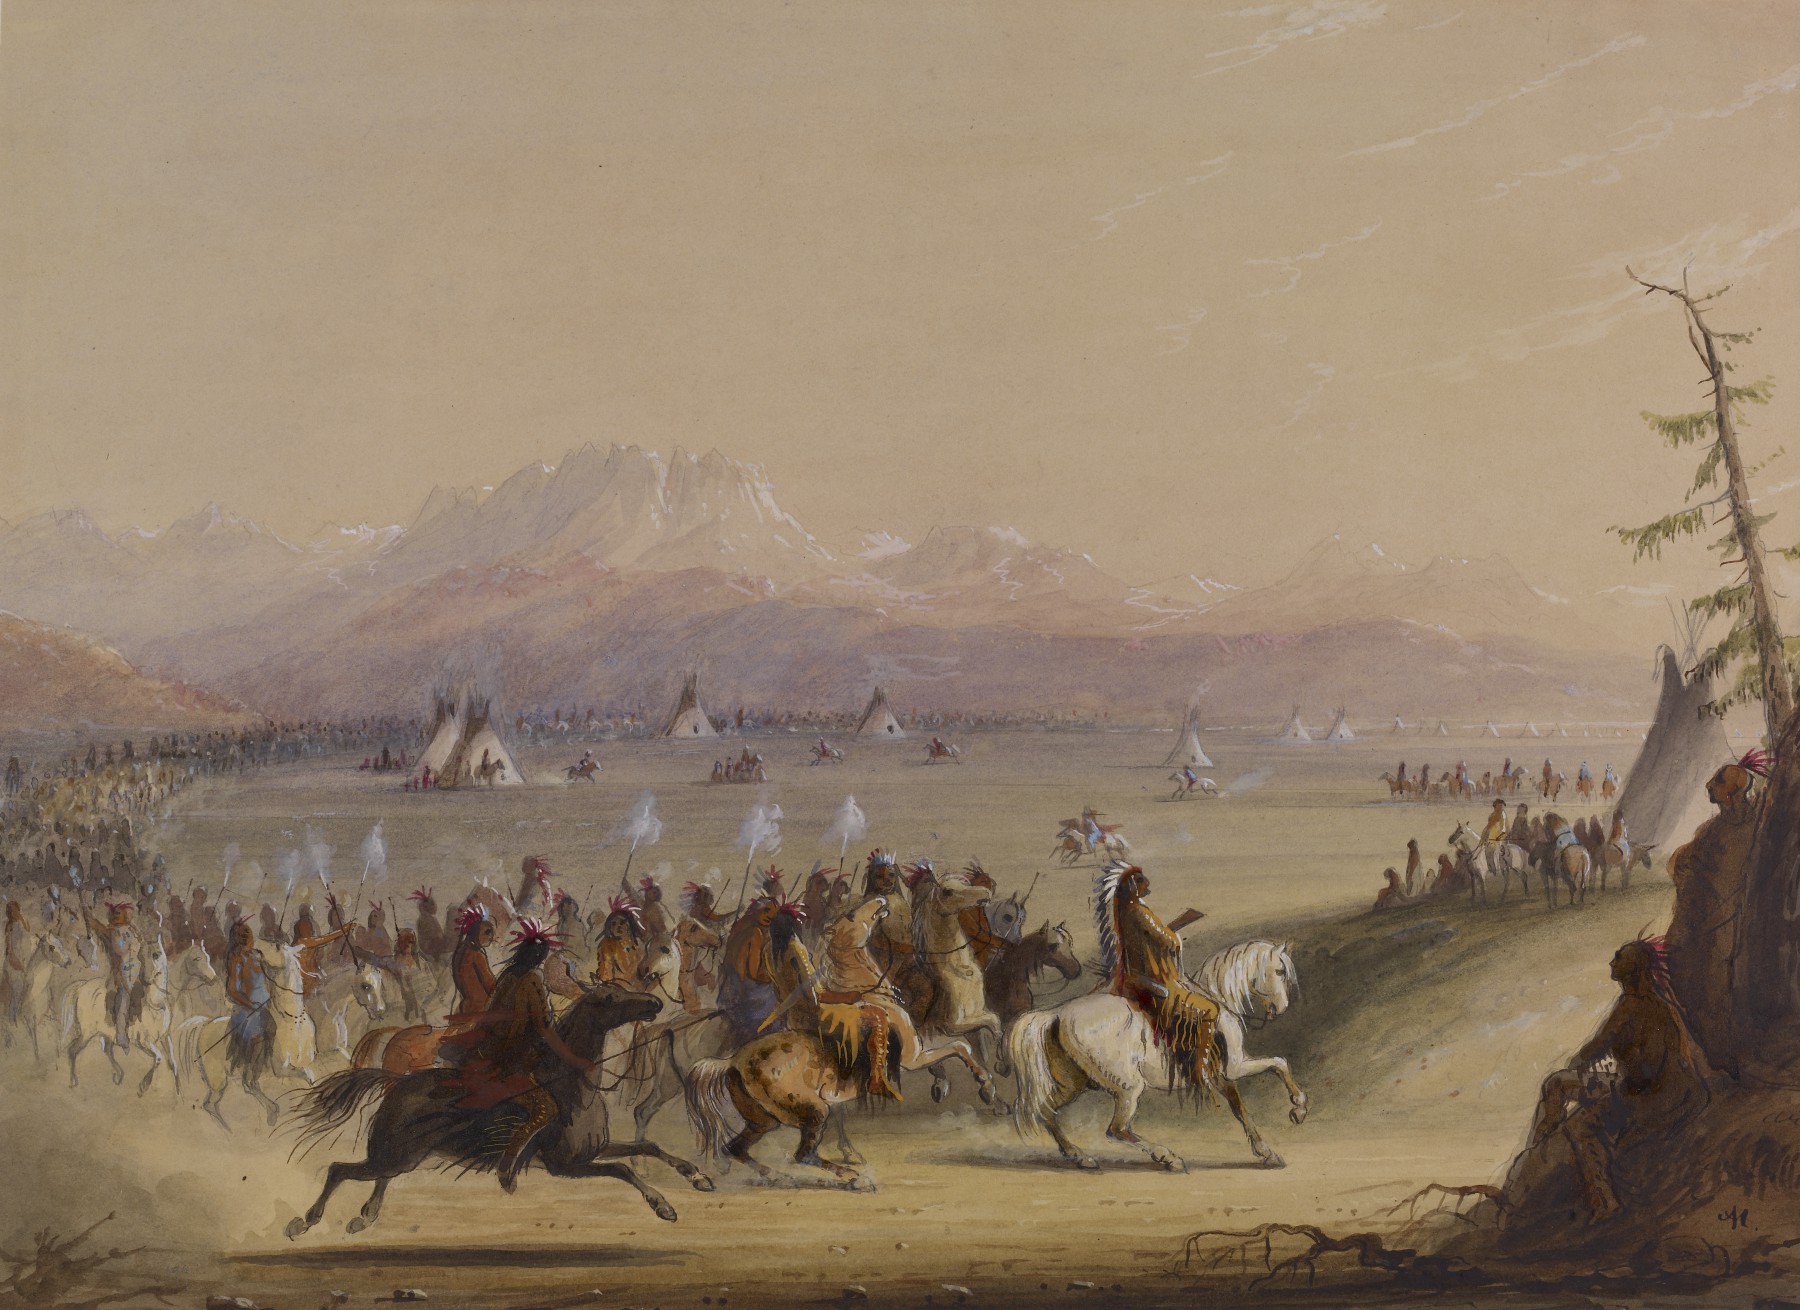
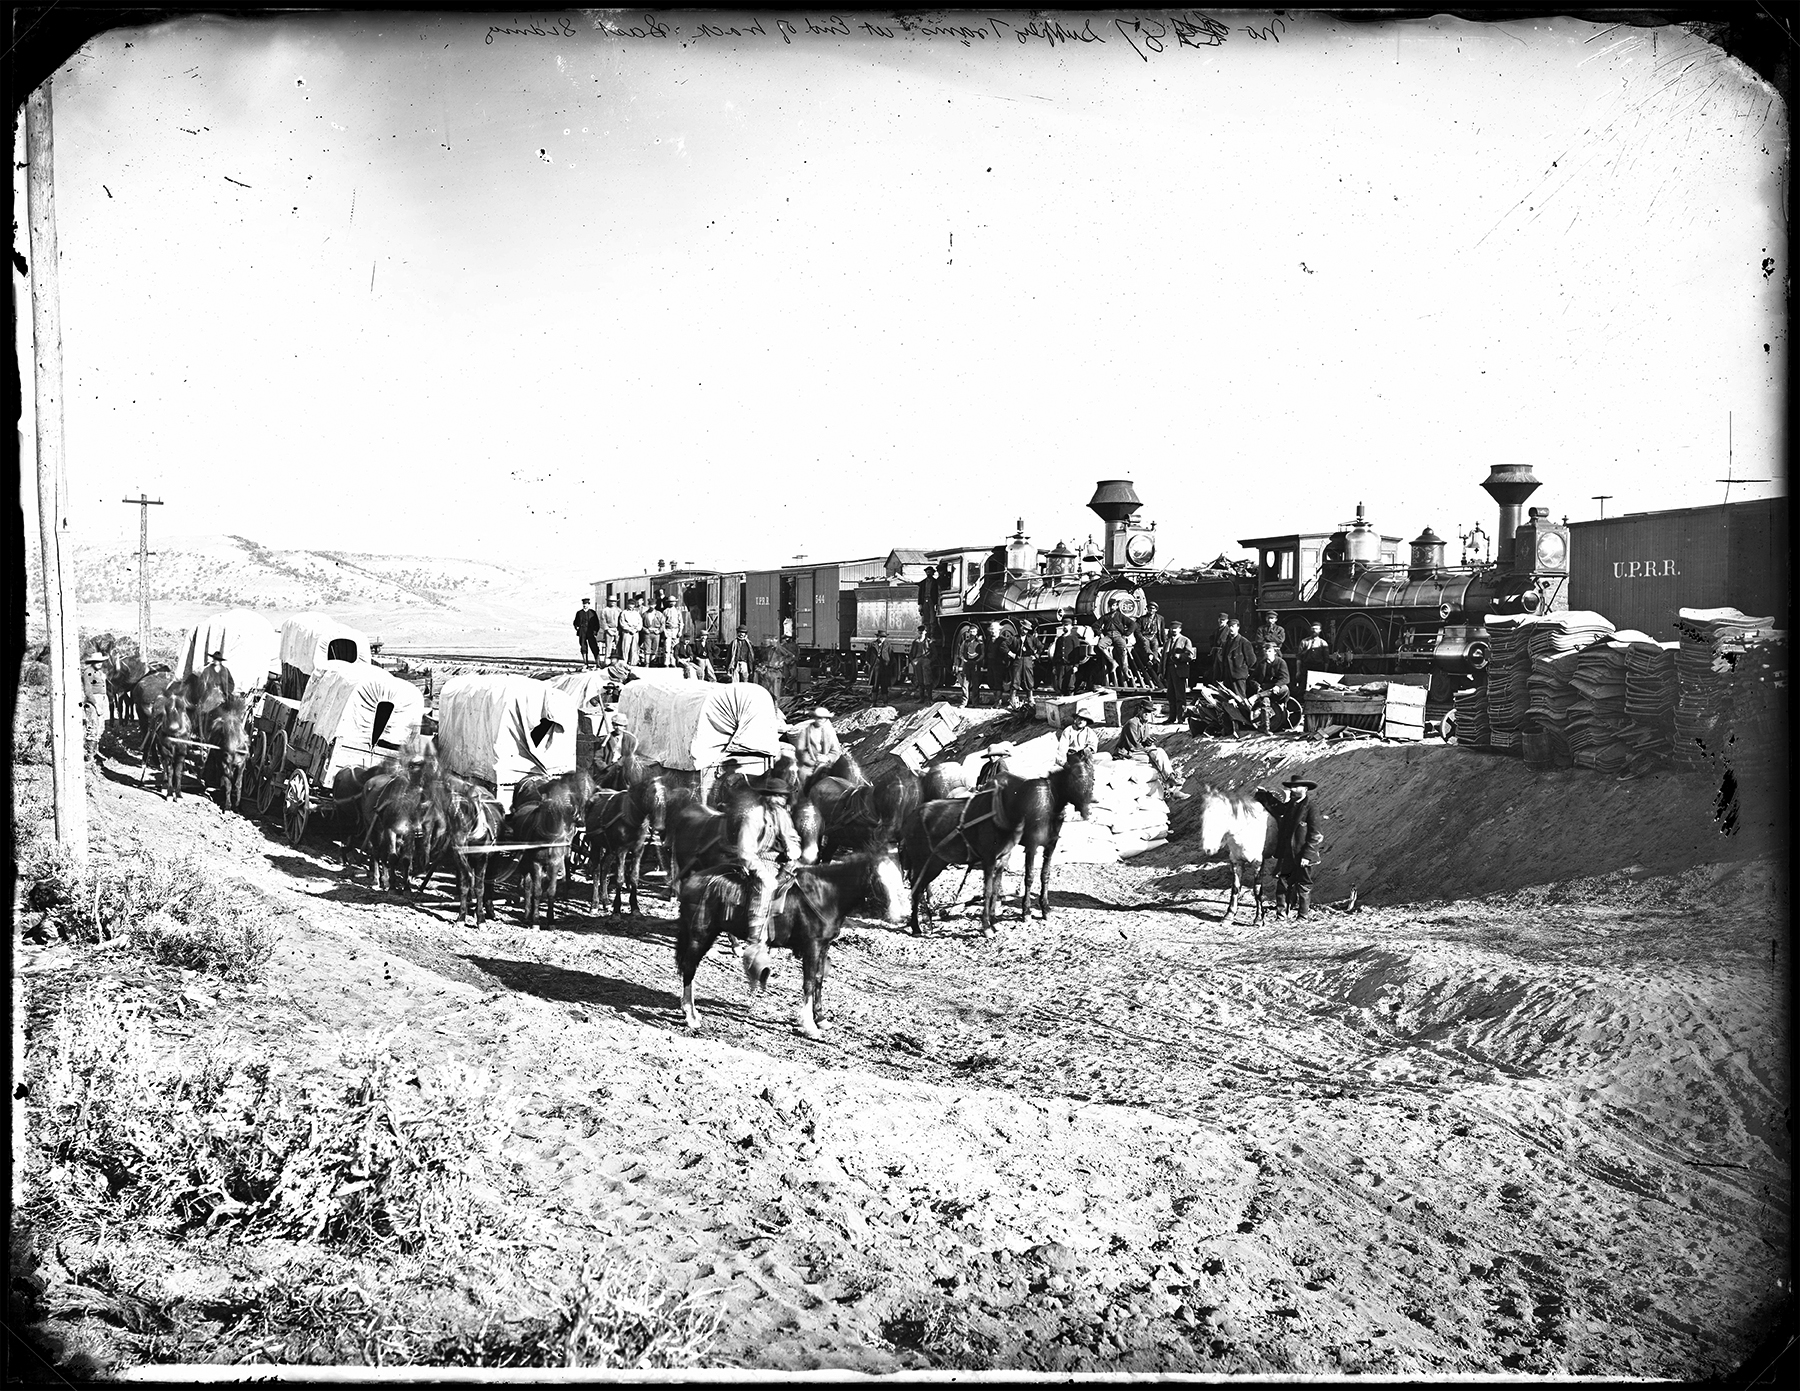
Lesson Overview: The lesson will include interactive maps and jigsaw collaborative activities that will explore the timeline and themes developed by the Two Nations, One Reservation guide for students as well as a collection of primary sources from Wyoming Humanities. For the jigsaw, students will work in small groups to use these resources to become experts on one of the identified themes in the Two Nations, One Reservation guide: Written versus oral; Climate of fear and violence; Horses and guns; Assigned lands; Chasing gold and building railroads; and Broken treaties. Then, they will share and synthesize information with their classmates to answer the lesson’s essential question.

Essential Question: How was Native American culture transformed by contact with Europeans, and what impact did these transformations have on the Native Americans?

Standards
Click here to see a spreadsheet aligning Wyoming State Social Studies and Common Core Standards for this and other digital toolkits of Wyoming History.

We will update the standards spreadsheet as more lesson plans are developed.

Teacher Preparation

  • Secure enough computers for each student.
  • Create 1 copy of each of the 6 theme anchor images.
  • Secure a way to display the essential question.
  • 1 set of large labels displaying the name of each theme.
  • Create digital or hard copy folders for each of the 6 Theme Resources (linked below).
  • Create digital or hard copies of the Two Nations, One Reservation Kids Guide from https://www.thinkwy.org/initiatives/wy-treaties-matter
  • Create digital or hard copies of the 6 Theme Graphic Organizer for each student.
  • Create digital or hard copies of the Collaboration Guide.
  • Gather chart or large construction paper and markers for each group.
  • Gather enough sticky notes for the class.
  • Create two groupings of students. 1) 6 Theme Expert Groups 2) Collaboration Groups that have one student from each of the 6 Theme Expert Groups.
  • Create digital or hard copies of the Reflection.

Lesson 1

  1. As students enter the room, have 1 copy of each of 6 theme anchor images posted around the room.
  2. Tell students to travel to each of the 6 posters (or you may choose to give students a rotation for pursuing each of the images). As they stop at each of the images, they need to place three sticky notes at each. Each sticky note should complete one of these statements:
  3. I notice…
  4. I think…
  5. I wonder…
  6. Display the essential question for the students. Tell them that this is the question we will be exploring over the next three days with interactive maps and primary sources.
  7. Then, tell the students that they will be exploring this question through the lens of 6 themes:
    • Climate of Fear and Violence
    • Assigned Lands
    • Broken Treaties
    • Written versus Oral
    • Horses and Guns
    • Chasing Gold and Building Railroads
  8. Ask the students to guess which 6 theme anchor image matches each theme. Label the anchor images as students correctly match each theme with its image. Then, move the labels and anchor images to the areas of the room where each of the 6 theme groups will meet.
  9. Move the students to one of each of the 6 groups.
  10. Give each student a copy of the Two Nations, One Reservation Kids Guide and the 6 Themes Graphic Organizer.
  11. Instruct students to work as a team using their Two Nations, One Reservation Kids Guide to add as much information as possible to their graphic organizer. Once they have exhausted this resource (Two Nations, One Reservation Kids Guide) share the appropriate resources for the group from the 6 Theme Resource Guide (linked below).
  12. Instruct the students to work cooperatively to consult the resources for their theme and complete their graphic organizer. It is important that the student collects his/her own information and truly understands the content as he/she will be teaching peers that did not explore this theme. As students finish up for the day, remind them to record the source they were using at the end of class, so they know where to pick up tomorrow.

Lesson 2

  1. Instruct students to return to their theme groups. Ideally, their anchor image would be at their group’s location waiting for them.
  2. Refer students back to the essential question to remind them what is trying to be answered through this research.
  3. Before students have taken out any of their materials, tell them to revisit their anchor image. As they revisit the image, ask them to verbally share what they have learned so far that could help to answer the essential question.
  4. Grab materials and continue exploring the resources to complete the graphic organizer. Students should be prepared to teach their peers first thing in class tomorrow.

Lesson 3

  1. As the students enter the room today, they need to access their graphic organizers and sit with their new groups. Each of the new groups should have one student from each of the 6 theme groups. If there are not enough groups for this, some students can be paired up to share together.
  2. Give each student in the room a copy of the Collaboration Guide. Have each of the theme experts teach their peers about their theme and their findings while completing the Collaboration Guide.
  3. Once all students have shared, have the group create and record a collaborative answer to the essential question. Post the answer on the chart paper.
  4. Share all groups' collaborative answers with the whole class. Discuss how the answers are similar and different. Ask students to push back on or challenge answers they do not agree with. Have students provide evidence to support other groups' statements. 
  5. Pass out and have the students complete the reflection. Collect student reflections.

Possible Extension/Enrichment Activities to Support These Lessons

  1. Students use all of the available resources on the 6 Theme Resource Guide to write a research paper exploring a student generated research question.
  2. Students explore all of the maps presented in the 6 Theme Resource Guide for a targeted geography lesson.
  3. Students collect visual sources from the 6 Themes Resource Guide that they feel connect to specific maps. They argue in writing or discussion as to why they feel their image matches the map.
  4. Students work in pairs or small teams to create a museum display for one of the themes, then share their display with the class.

6 Theme Resource Guide

Assigned Lands

Download and Print Image

Primary Sources:

Secondary Sources:

Lesson plans:

Maps:

Horses and Guns

​Download and Print Image

Primary Sources:

Secondary Sources:

Maps:

Chasing Gold and Building Railroads

​Download and Print Image

Secondary Sources:

Maps: